


Many of you would have heard of advantages of using solid state drive, and I ever saw a test which shows the average transmitting speed of SSD nearly doubles that of traditional hard disk. Attracted by these amazing features, a lot of people including me plan to upgrade their hard drive to solid state drive. Well then, how to complete the upgrade without losing any previous information?
Lossless disk upgrade means all files, including OS, installed programs, user data, etc., should be transferred from old disk to new disk with ensuring data integrity. Currently, there is disk clone software to clone one disk to another disk, but most of them focus on common data and give no protection to operating system. As a result, OS saved in the cloned hard drive may be unbootable. Under such circumstances which cloning program should users download?
Here, we recommend MiniTool Partition Wizard for Windows users, which has helped a lot of people upgrade traditional hard drive to solid state drive or advanced format hard drive without losing any information. Moreover, there is a automatic alignment feature configured in this disk clone software, which helps align partitions on SSD to maximize performance. And you can clone one hard disk to another hard disk in easy operations.
Upgrade Hard Drive to Solid State Drive with MiniTool Partition Wizard
Firstly, please download and install the program to computer. If you are running Windows XP/Vista/7/8/10, download the free edition. However, if you are a server user, please purchase the server edition. Then, run it to get its starting interface and choose “Launch Application” module.
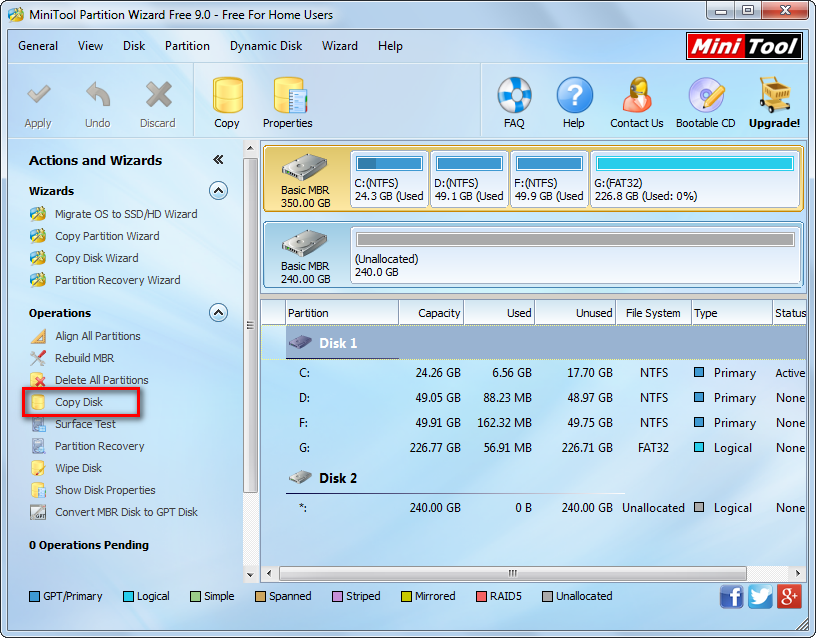
This is the main window of the disk clone software. To clone one disk to another disk, we need to select the source one and then click on the feature “Copy Disk”. However, if you plan to transfer Windows only, please employ the feature “Migrate OS to SSD/HD Wizard”.
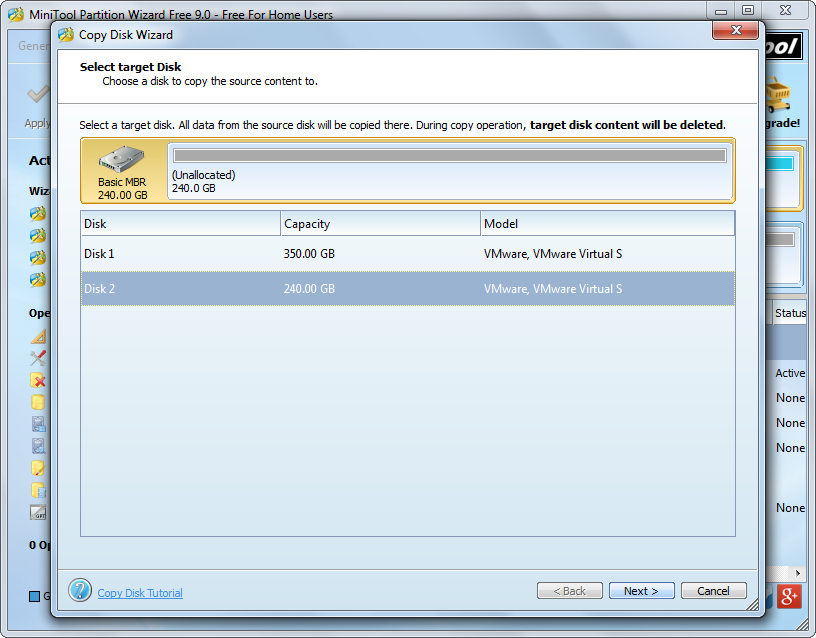
Then, select the new disk to save the copy of source disk and click “Next>”. Tip: all files saved in the new disk will be overwritten by content on source disk, so please transfer important ones out in advance. After these operations, we are able to edit partition on SSD:
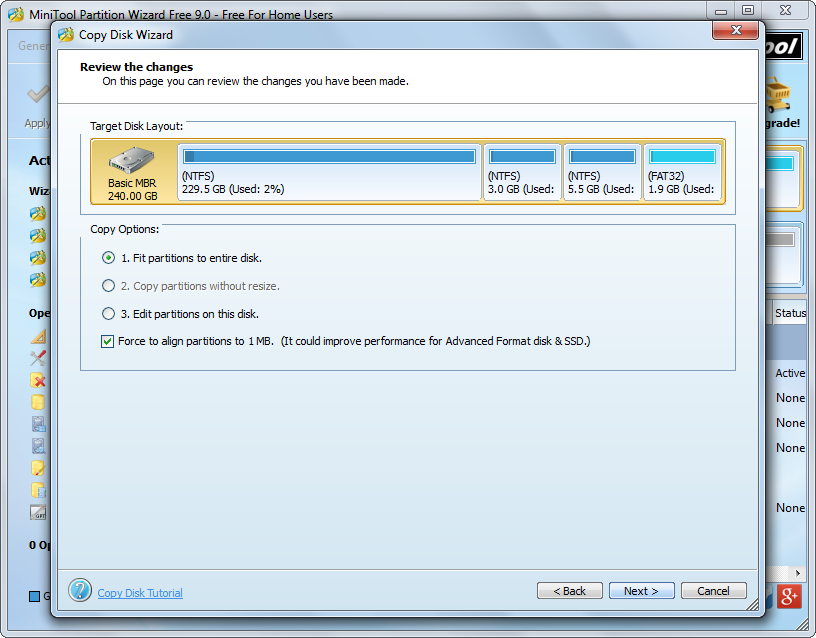
Here we can edit partition size by changing the length of the handle or edit partition location by moving the entire handle. After this step, a boot note will pup up. Please read it and click “Finish” to go on.
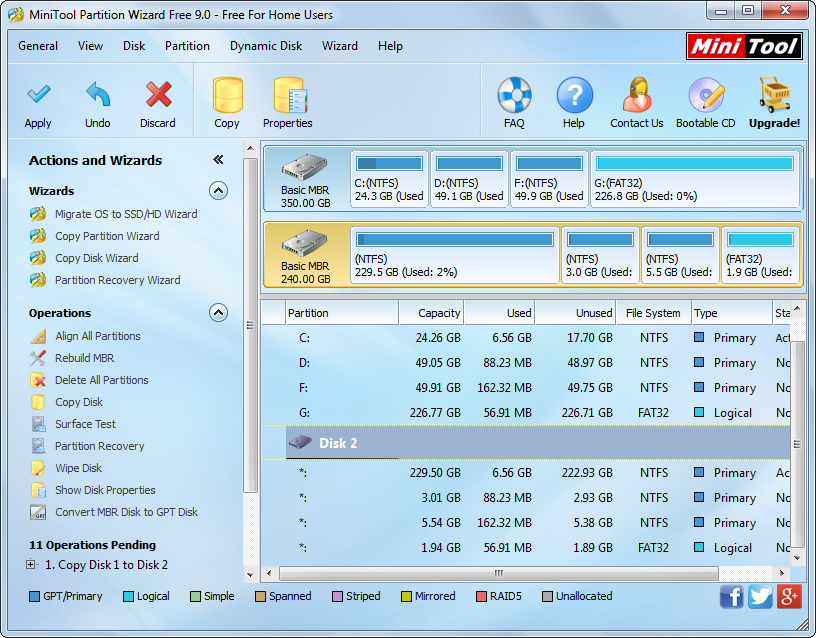
Now we can see all information has been moved to the new hard disk except drive letter. Please appoint these partitions with new drive letters respectively via the function “Change Drive Letter“, and finally click “Apply” button on the top to make all these changes applied.
Tip: if the hard drive we are operating saves Windows OS which is running, the disk clone software will ask us to restart computer. Do as it tells and then all operations will be performed in boot mode. Once all changes are made, MiniTool Partition Wizard will reboot. During this time please enter BIOS and make the SSD as the first boot device. For steps to change boot order in BIOS, you may get information from the article Clone Hard Disk.
Do you want to upgrade current hard drive to solid state drive? With this program you can help accomplish the upgrade without reinstallation.