


Most of you would have met the situation where important files got lost due to mistaken operation or without knowing exact reason, and have to do a lot of repeated work or even suffer from serious economic losses. Therefore, it is very necessary to make a backup for our important data, which can help complete recovery in a short time. Well then, how can we backup data to another hard disk in a fast way?
Windows built-in Backup and Restore function can help make such a backup, and detailed steps are as follows (here we take Windows 7 for example):
Go to Control Panel, choose View by large icons, and choose “Backup and Restore” to get the following interface:
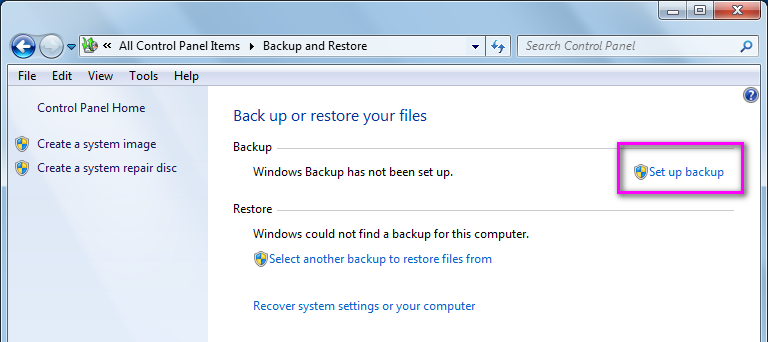
Then, choose Set up backup to continue.
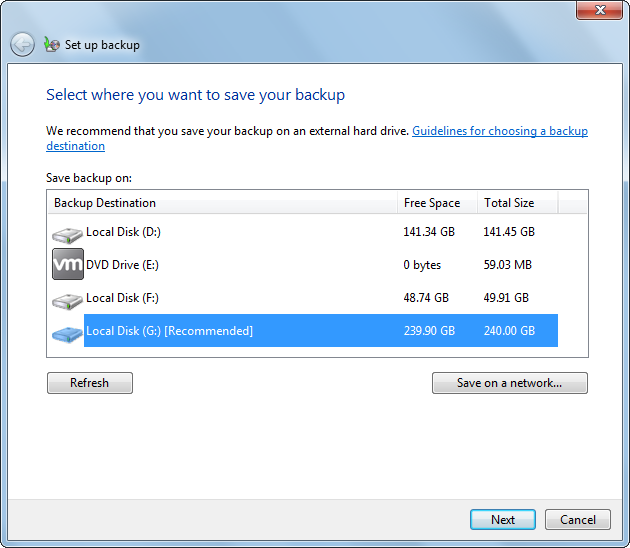
Select a place to save the backup and click “Next”. Of course, you can save it on a network, but operations are relatively complex.
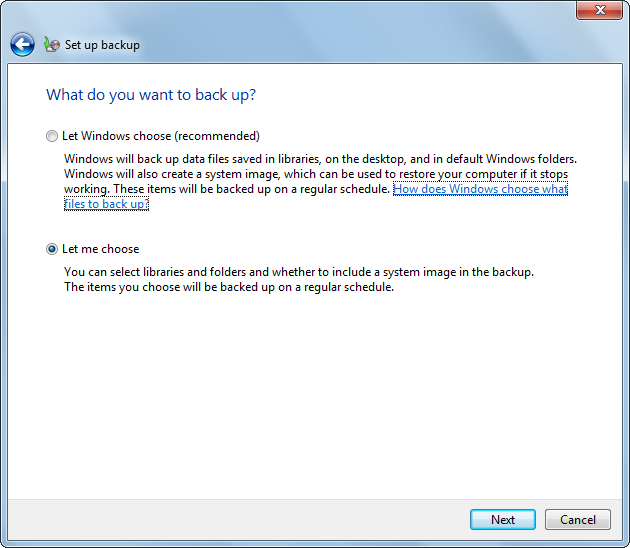
Then, choose things to backup. There are 2 options: Let Windows choose and Let me choose. If we select the first one, only Windows related files will be backed up. However, even if we select Let me choose, a lot of files will not be included in the backup, like files saved in FAT drive, program files, and Temporary files on drives smaller than 1 GB. If you don’t care about this, just go on operating according to wizards.
Actually, there is a much better solution, and it is to make use of free data backup tool. Here, we take MiniTool Partition Wizard for example.
How to Backup Data to Another Disk with MiniTool Partition Wizard
Firstly, launch the freeware and we can see its main interface shown below:
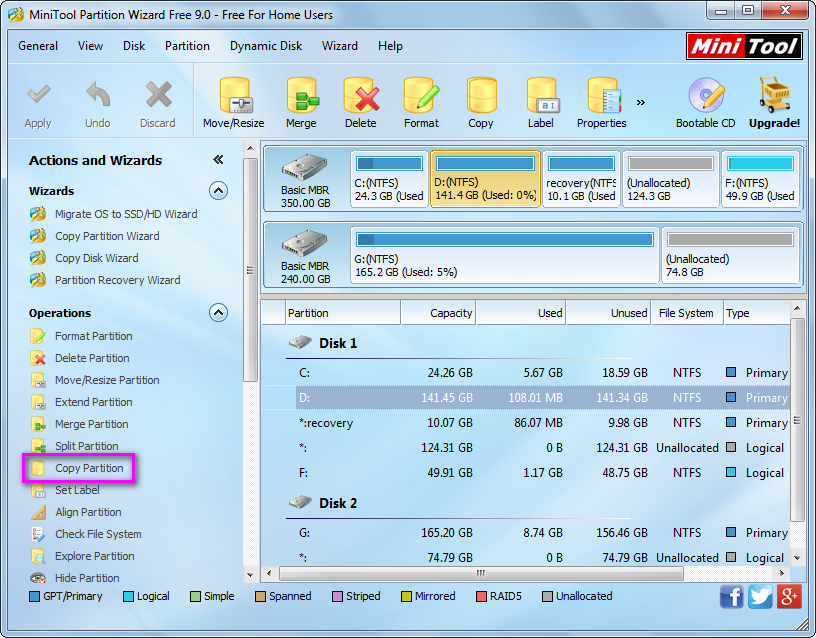
Here all disks and partitions are listed. If we want to backup data saved on a disk, just select the disk and choose “Copy Disk” feature from the left side. However, if we only plan to backup data saved in certain partition, select the partition and choose “Copy Partition” feature. It supports copying both FAT and NTFS partitions. Here, we take cloning partition D for example. Select partition D and click on “Copy Partition” to get the window below:

Here we need to choose an unallocated space on the second hard disk to save content on partition D. If there is no such space, please shrink an existing partition to get. Then, click “Next>”. After that, resize the partition and click “Finish” to go back to the main window:

Now we can see partition D has been cloned to disk 2 from disk 1, which shows all data have been backed up to another hard disk. At this time, please click “Apply” button to make all these changes applied.
Till now, all operations are done.